Some Lagniappe for You
By Tiny Ruisch
la·gniappe (lnyp, ln-yp)
n. Chiefly Southern Louisiana & Mississippi
1. A small gift presented by a store owner to a customer with the customer’s purchase.
2. An extra or unexpected gift or benefit. Also called regionally boot.
There are several free and paid utilities that you can use to make a screenshot of your monitor. One of the best Windows utility programs that I often utilize can’t be downloaded. It’s already built into the operating system.
Snipping Tool is a screenshot utility included in Windows Vista and later. It can take screenshots of an open window, rectangular areas, a free-form area, or the entire screen. Snips can then be annotated, stored as an image file (PNG, GIF, or JPEG file), an MHTML file or e-mailed. The Snipping Tool allows for basic image editing of the snapshot, with different colored pens, an eraser, and a highlighter. Prior to Windows Vista, the Snipping Tool was available in the Windows Experience Pack (power toys).
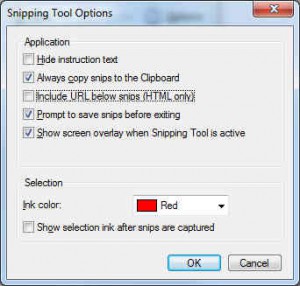
The start icon for the Snipping Tool can be found in the programs/accessories group. I have found that it is much faster and easier to start by typing “sni” in the search box and clicking on “Snipping Tool”. Once opened, the application is very simple to use. There are several available options:
1. Hide Instruction Text will show or hide the instruction text in the main Snipping Tool window.
2. Always copy snips to the Clipboard will copy all snips to your Windows clipboard so you can paste them into other applications.
3. Include URL below snips (HTML only) will save your snip as a Single File HTML, or MHT document.
4. Prompt to save snips before exiting.
5. Show screen overlay when Snipping Tool is active.
6. Ink Color will change the color of the selection border when you create a snip.
7. Show selection ink after snips are captured simply shows the selection border around the snip.
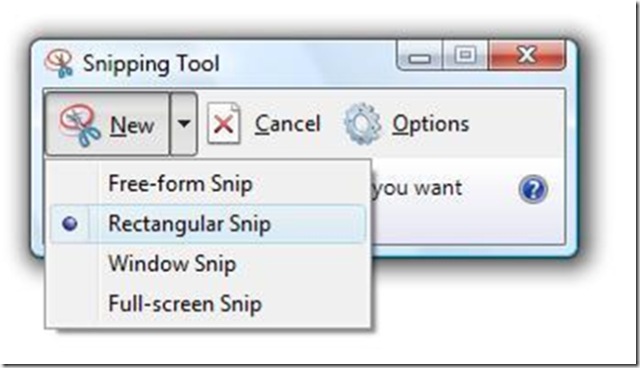
Personally, except for Include URL, I’ve left all the options on default. It really doesn’t make much difference. After you’ve selected any options you want, it is time to make a clip of your screen. There are four different types of snips you can take. In order to change the type of of selection the Snipping Tool will use to create a snip you would click on the small down arrow menu next to the New button.
1. Free-form Snip: This method allows you to draw a shape around your selection using a mouse or a stylus. Once the selection shape is drawn and you close the shape so there are no open sides, the snip will be created and shown to you.
2. Rectangular Snip: This method allows you to create a rectangular selection around a portion of your screen and anything in that rectangle will be used to create the snip.
3. Window Snip: Will capture the contents of the entire active window that you select.
4. Full-screen Snip: Will capture the entire screen on your computer.
After selecting your type of snip, simply left-click and hold your mouse button down. Your screen will fade and you can move the mouse to select the area to clip. After you are satisfied with your selection, release the mouse button and you have snipped your screen.
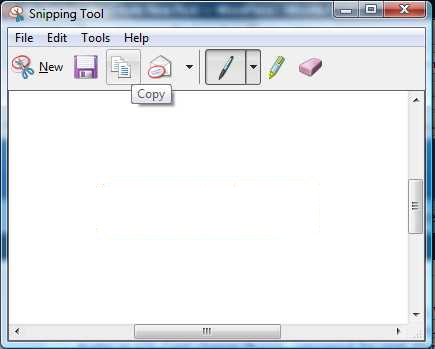
A new window will open with your clipped image. You can make then use the pen to draw on your clip. There is also a button to select a high lighting tool. There is an erase button that will undo any changes you’ve made. I seldom edit my snips. I have found that when it is necessary it is easier to do in a graphics program. When your snip is satisfactory, you can save it to a file or attach it to an e-mail.
Note: The screenshots and directions in this article were all done on a Windows 7 computer. Everything is similar for all other versions of Windows. I can’t give you a download link because the program is already installed on your machine.
If you like this software, just tell everyone that you’ve got a SWLAPCUG extra, a bonus perk, a small gift, a present from the club: a little lagniappe.